
As a gamer, I’ve always wanted to share my in-game highlights online, but could never bring myself to spend hundreds of dollars on an HD capture card.
For years, I limited myself to the few-minute maximum recording available on my Xbox console, but eventually that just didn’t cut it anymore.
After exploring my options, I discovered that you can actually record extended HD gameplay footage directly onto a USB flash drive. And after testing this method myself, I can confirm that it’s an accessible, cost-effective solution.
Now I’m going to show you how to use your own flash drive (or external hard drive) to capture up to an hour of HD footage from your Xbox without an expensive capture card.
I’ll also discuss how this process differs if you use a Mac vs a PC, and what that means for your experience.
RELATED POST: How to Download All of Wikipedia on a Flash Drive
Why I Chose to Record on a USB Flash Drive
I opted to use a USB flash drive for recording gameplay for several reasons:
- Portability and Ease of Access: The small size of USB flash drives makes them incredibly handy. I can easily plug it into my Xbox, then easily unplug it and move it to my computer. It’s much faster than the annoying process of uploading clips from the Xbox network to Onedrive, waiting for the uploads, then downloading again to your computer. I personally used a 128 GB flash drive for this demo, but if you’re buying a new one I’d suggest going for a larger size like this 512 GB drive so you don’t run out of room so quickly.
- Cost-effective: I didn’t have to break the bank with an expensive capture card or SSD drive. The USB flash drive was a much more economical alternative at just a few dollars.
- Longer Recording Time: By using a USB flash drive, I was no longer bound by the restrictive few-minute recording time limit imposed by my Xbox console. I can now record in HD for up to an hour.
Trade-offs
There are, however, some considerations and trade-offs you need to know before you embark on this journey. While using a USB flash drive for capturing gameplay clips, you might face some limitations:
- Sharing Restrictions: It’s important to note that clips recorded externally on a USB flash drive can’t be shared directly on the Xbox network like the ones recorded internally.
- Existing Clips: You should also be aware that the clips you’ve already captured won’t be automatically transferred to the flash drive. These would need to be uploaded to Xbox Live or OneDrive since setting a flash drive as the default capture location only affects clips captured after this setting change.
Despite these caveats, if your goal aligns with mine – to record on the flash drive, then edit and share your gameplay from your computer – this method proves to be incredibly effective.
Step by Step: How to Record Xbox Gameplay on a USB Flash Drive
Please note that the flash drive needs to be USB 3.0 or later and NTFS-formatted for the process to work. If your drive isn’t currently NTFS, you can find instructions here for Windows and here for Mac (must use a 3rd party tool).
Note: If you’re using an existing flash drive for this, be sure to backup any files you currently have on the drive, as formatting it will erase everything on it forever.
Here’s a breakdown of the process:
1. Preparation:
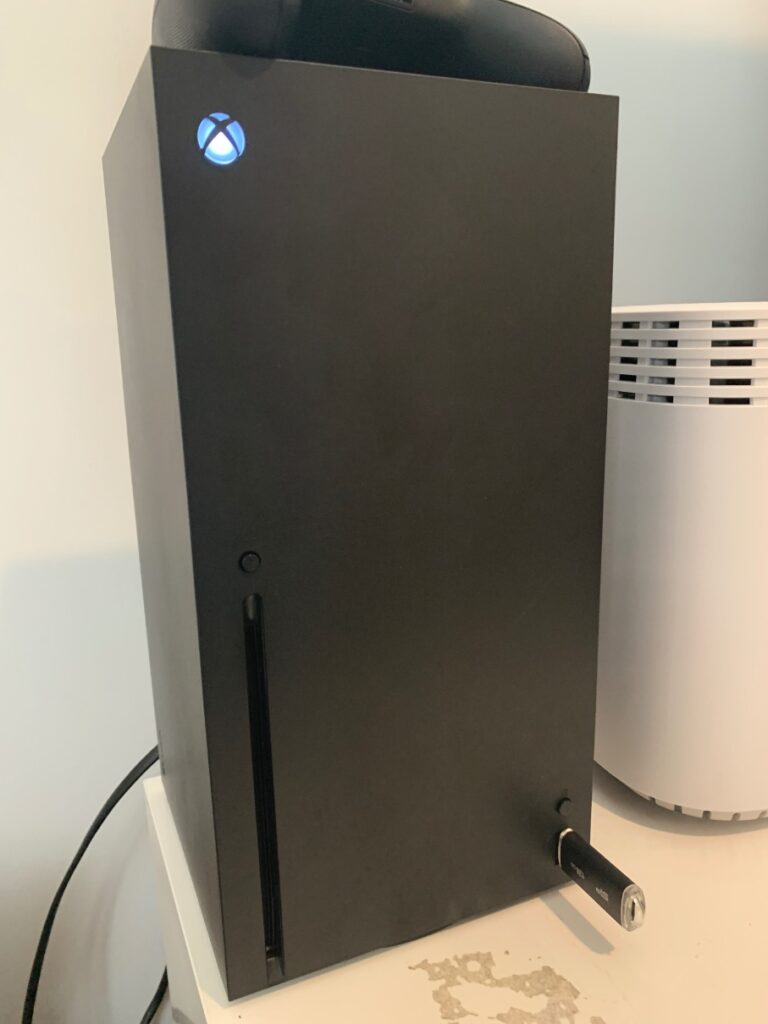
Plug your USB 3.0+, NTFS-formatted flash drive into your Xbox. I used the slot on the bottom front of my Series X console.
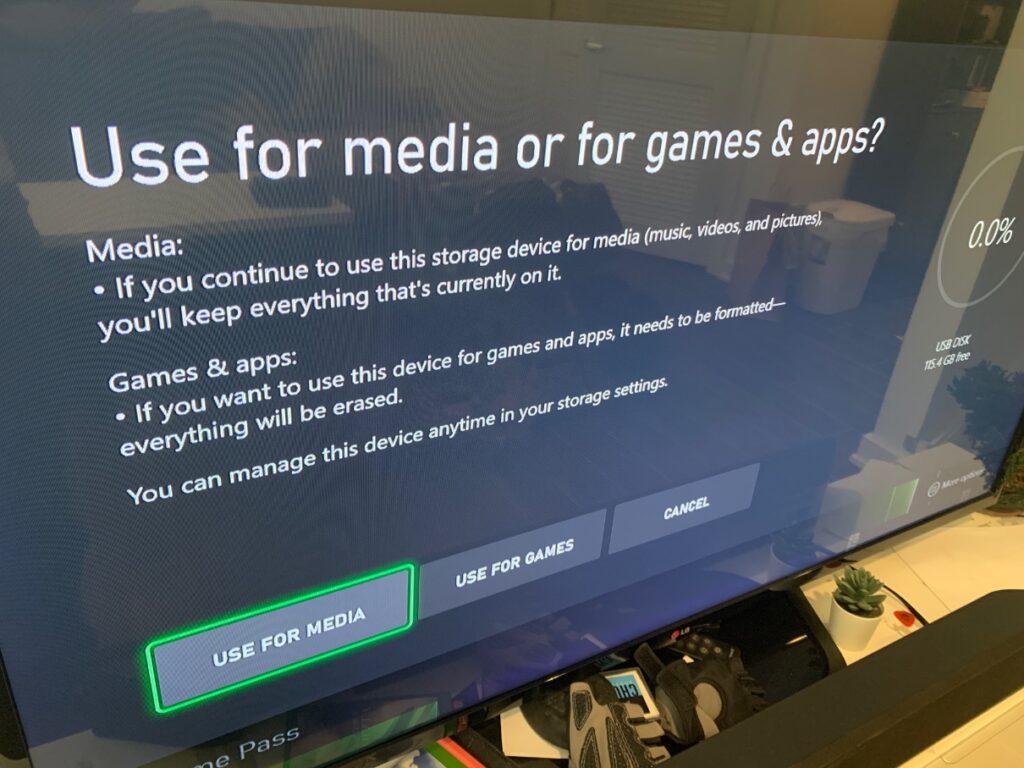
After you plug in the drive, you should be greeted by a screen that looks like this. You should select “Use for media” if your intention is to record gameplay.
2. Settings Change:
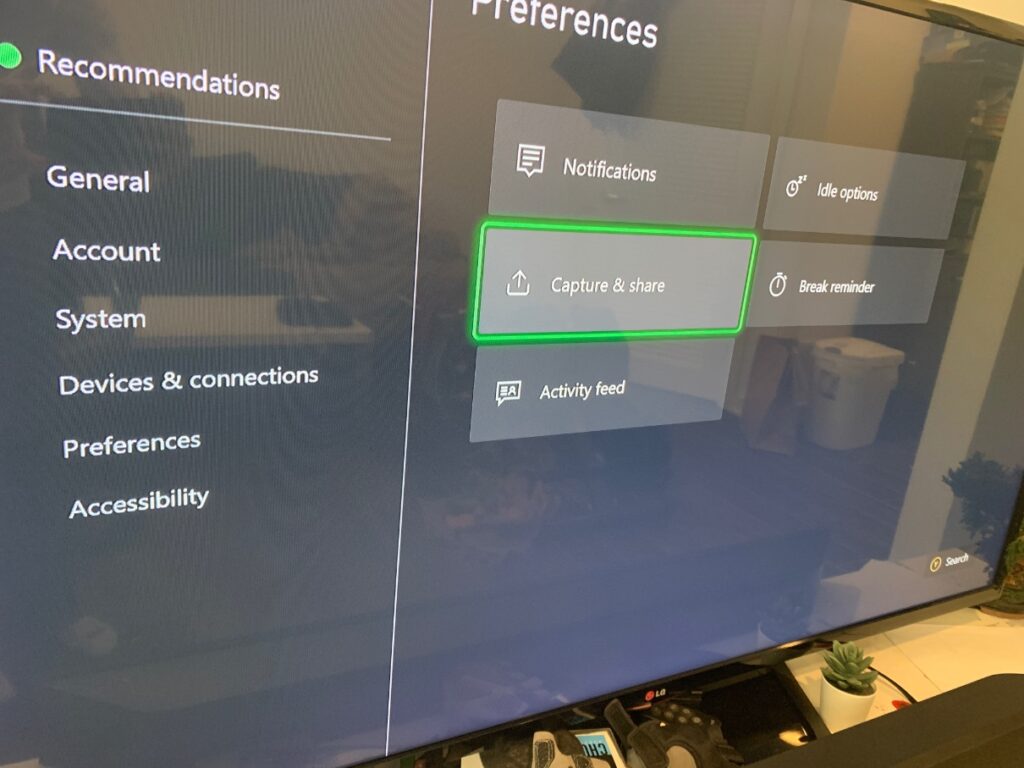
Press the Xbox button to open the guide. Navigate to Profile & system > Settings > Preferences > Capture & share.
3. Choose Storage Location:
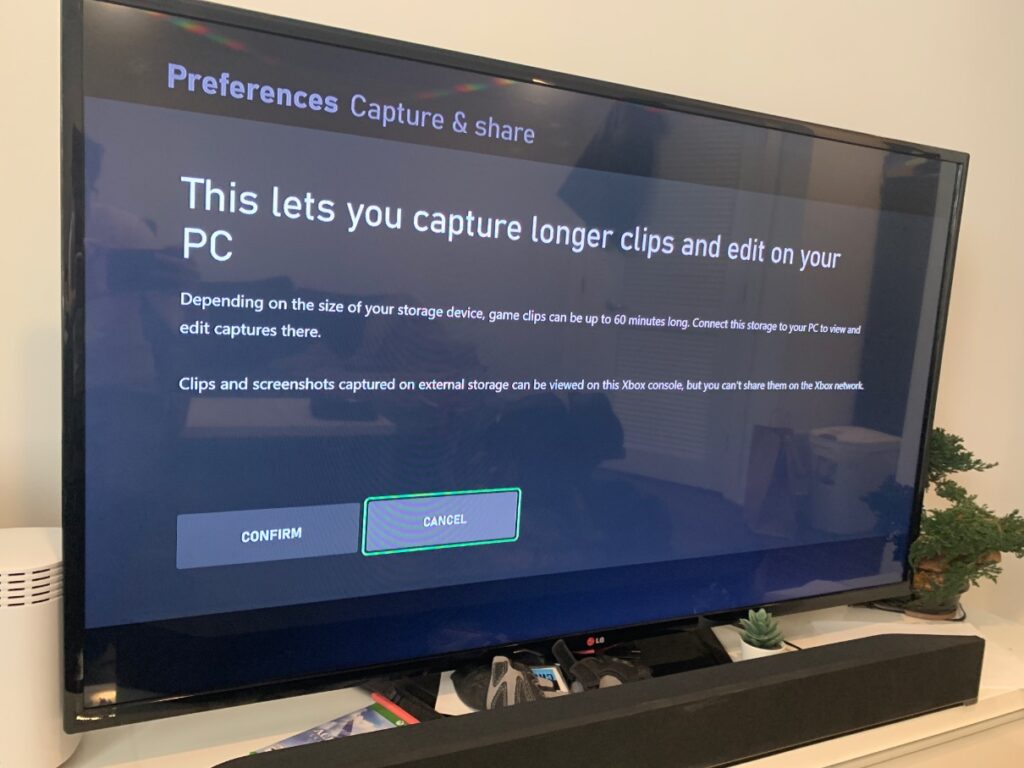
Select Capture location and choose your plugged-in USB flash drive as the destination for your game clips and screenshots.
Then you’ll see this screen below. Select “CONFIRM”.
4. Start Recording:
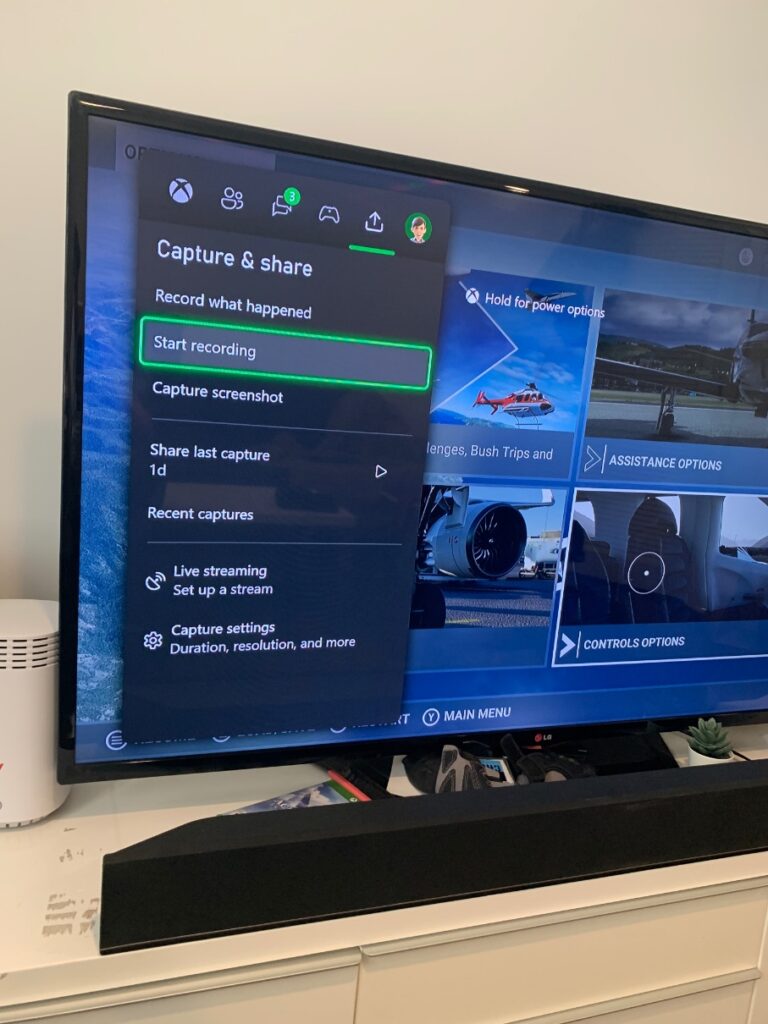
Press the XBOX button in the middle of your controller. That will bring up the main menu, then navigate to the Capture and share tab, and select “Start recording”.
You can navigate back to this same location to stop recording when you’re done.
5. After Recording, Shut Off Your Xbox.
After powering down your console, unplug the USB drive, plug it into your PC, and get creative with your favorite editing tools.
I’m actually not sure if you need to shut off your Xbox before removing the flash drive, but I read some accounts online of people’s data getting wiped by pulling out the drive while the console was still on, so I just turn off the console first to be safe. As far as I can tell there is no “eject drive” button similar to what you would find when removing a flash drive from a computer.
Note: If you’re using a newer computer that only has USB-C drives like me, you’ll need a USB-A to USB-C adapter like the one I have.

6. Ready to Edit or Upload!
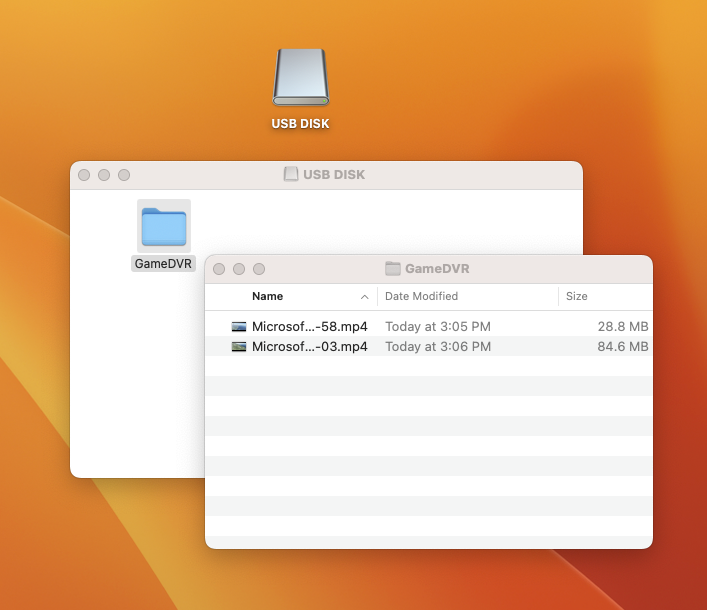
If you followed the instructions below, you should now see your video files after opening the flash drive on your computer.
You can drag and drop them to your desktop, and then you’re done!
Considerations for MAC Users
If you remember from before, we had to format the drive to NTFS for this to work.
NTFS is a Windows based system, which means it is readable on Macs, but not writeable or editable without additional software/tools. Basically what this means is that you’ll be able to move files from this Xbox flash drive onto your Mac, but you won’t be able to drag new files from your Mac back onto the flash drive.
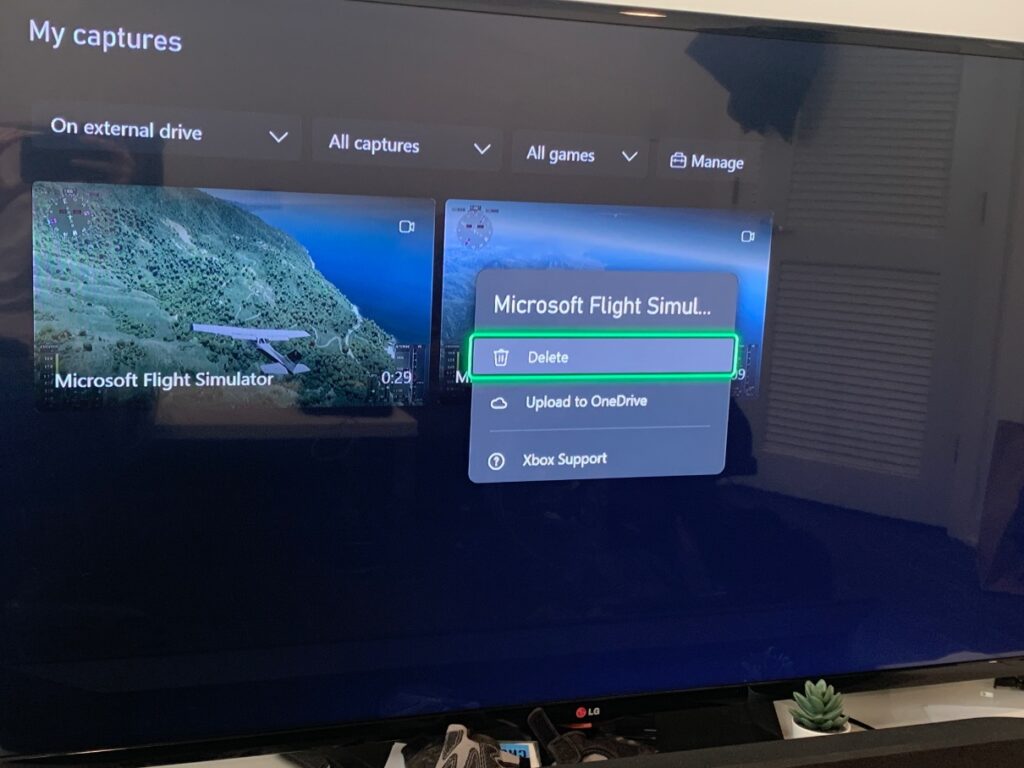
You also won’t be able to delete files off the flash drive while it’s plugged into a Mac.
This is annoying, but as a workaround you can just delete the files directly on your Xbox when you start running out of drive space.
Comparing With Other Capture Methods
The benefits of recording gameplay on a USB flash drive shine when compared to other methods:
- Capture Cards: These can be costly, but they do offer high-quality recording and streaming capabilities. Using a USB flash drive is an economical solution without significantly compromising on quality, but you cannot directly live stream like you could with an Elgato HD60 X.
- Internal Xbox Recording: While convenient, internal console recording imposes short recording durations and consumes valuable storage space on your console. A USB flash drive, on the other hand, offers longer recording times and conserves your console’s internal storage. Internal storage does allow you to upload directly to the Xbox network, while external storage does not. I personally care very little about this, but it’s a personal preference.
Conclusion: My Xbox Experience with a USB Flash Drive
In the end, my decision to record my Xbox gameplay on a USB flash drive has proven to be a game-changer. It not only offered a cost-effective solution but also provided me with longer recording times, easy access to files, and portability.
Yes, there were some trade-offs like not being able to directly share on the Xbox network. However, the benefits I’ve enjoyed far outweighed these limitations, especially when you think about the money savings.
In a world where sharing gameplay is becoming as significant as the gameplay itself, I hope this guide helps you record, edit, and share your Xbox gameplay with ease.